Hi guys,
Since I have my cricut I dont think much about hand cutting patterns
but
I've been seeing so many very cute tear bears on layouts .
I thought I'd try to make my own patterns .I did a few here
is the first one.A bit big .I'll have to play with sizes later on.
hugs
Brenda
oh my nick name is BooBoo
so im calling him Boo Bear
Sunday, November 21, 2010
my tear bears( Boo bear)
Posted by Unknown at 8:07 PM 3 comments
Labels: tear bear
Monday, November 15, 2010
Scrap'n Tote Cricut Storage Giveaway!
Hey guys
Jamie over at Bits of paper has a fab give away
a scrap'n' tote ..cool right...
since I have 80+ carts I sure hope I win lol...
but you can have a chance as well
go check it out
also while you are there check out the mad skills this girlie has
wow weee,,,
and to boot she is a very supportive sweetie...
http://jamielanedesigns.blogspot.com/
hugs
Brenda
Posted by Unknown at 3:16 PM 2 comments
Labels: give away, scrap'n'tote
Thursday, November 4, 2010
my first tutorial..a pretty flower
Hi everyone,
today I am doing my first EVER online tutorial...
so bare with me :)
yesterday I posted a cute pic of 2 types of flowers
that I made.This is the tutorial for the purple one....
all you need is a
daisy punch,
glue or glue dots,
2 colors of cardstock (Thick cardstock is best,,,thin stuff rips)
and some water (in a mister works best)
Here we go.........
Using a daisy punch,
Punch out 5 coloured flowers and 1 green flower for the leaves...
Using your mini mister filled with water/ or spray bottle. Spray a SMALL
amount of water in the center area of the flower.
With your fingers work the water from the center to the edge of each petal....only a small amount is to be used...to much will tear paper...so easy does it....
Place the petal to be worked on onto a foam craft mat, old mouse pad....something soft and has some give...very important step
With the rounded end of a pen or embossing tool rub the petals from petal edge into the center .Do each petal until they curl upward...
With the end of the pen or embossing tool rub the center area of the flower in circular motions until it curves/cups...
Using your fingers form the flower into a small ball with the petals curled in toward the center.Do all 5 coloured flowers like this.
Once you have all 5 flowers done...loosen each up a bit then assemble .alternate/stagger the petals.
I glue them between layers with Aleene's fast grab tacky glue...it works very fast...so you need to as well
Once all 5 layers are in place ,glue on the very back your leaf/green flower...
Fluff up as needed...
Ta da you did it...not so hard is it....
(I first saw this tutorial online at www.scrapjackie.com/br ...this is my version of that tutorial using my words and photos)
I hope you have fun making your own....
Please let me know what you think of the tutorial .It is my first one and I need feedback on anything that needed to be done differently..
hugs
Brenda
Posted by Unknown at 8:28 PM 8 comments
Labels: 3D paper flowers, punches, tutorial
Wednesday, November 3, 2010
3D paper flowers
Hi everyone,
I just wanted to share today a few 3D paper flowers that I made....
Hope you likey....
hugs
Brenda
Posted by Unknown at 12:27 AM 3 comments
Labels: 3D paper flowers
Wednesday, October 27, 2010
tutorials used at scrap retreat ( links)
Hey guys,
I had a fab weekend at the scrap retreat.I'd like to thank my blog friends for
their great tutorials.I used a few in my classes on the weekend and I want
to add their links here to give them credit...
these amazing bloggers have many more tips so go check them out
thanks again for sharing everyone
Hugs
Brenda
http://mycreativescrapbook.invisionzone.com/index.php?showtopic=1743&st=0
http://tutorialstoshare.blogspot.com/2010/07/tim-holtz-grundge-paper-flower-using.html
http://angelicascrappenings.blogspot.com/2010/05/layered-flower-tutorial.html
http://angelicascrappenings.blogspot.com/2009/06/pearl-swirls-tutorial.html
http://scrapbookchallenges.ning.com/page/carnation-flowers
http://heartsandhugz.blogspot.com/2010/08/making-your-own-scrolls.html
note...i used glossy accents instead
http://www.craftcritique.com/2009/04/ranger-ink-liquid-pearls.html
http://moncton.flyerland.ca/search_results.php?q=michaels
http://www.sunflowers-dragonflies.ca/blog/2544/the-magic-of-pearl-ex/
http://groups.yahoo.com/group/CricutCheatSheet/
http://www.mypinkstamper.com/2008/12/all-my-cricut-series-videos.html
Posted by Unknown at 11:05 AM 0 comments
Labels: tutorial links
Monday, October 25, 2010
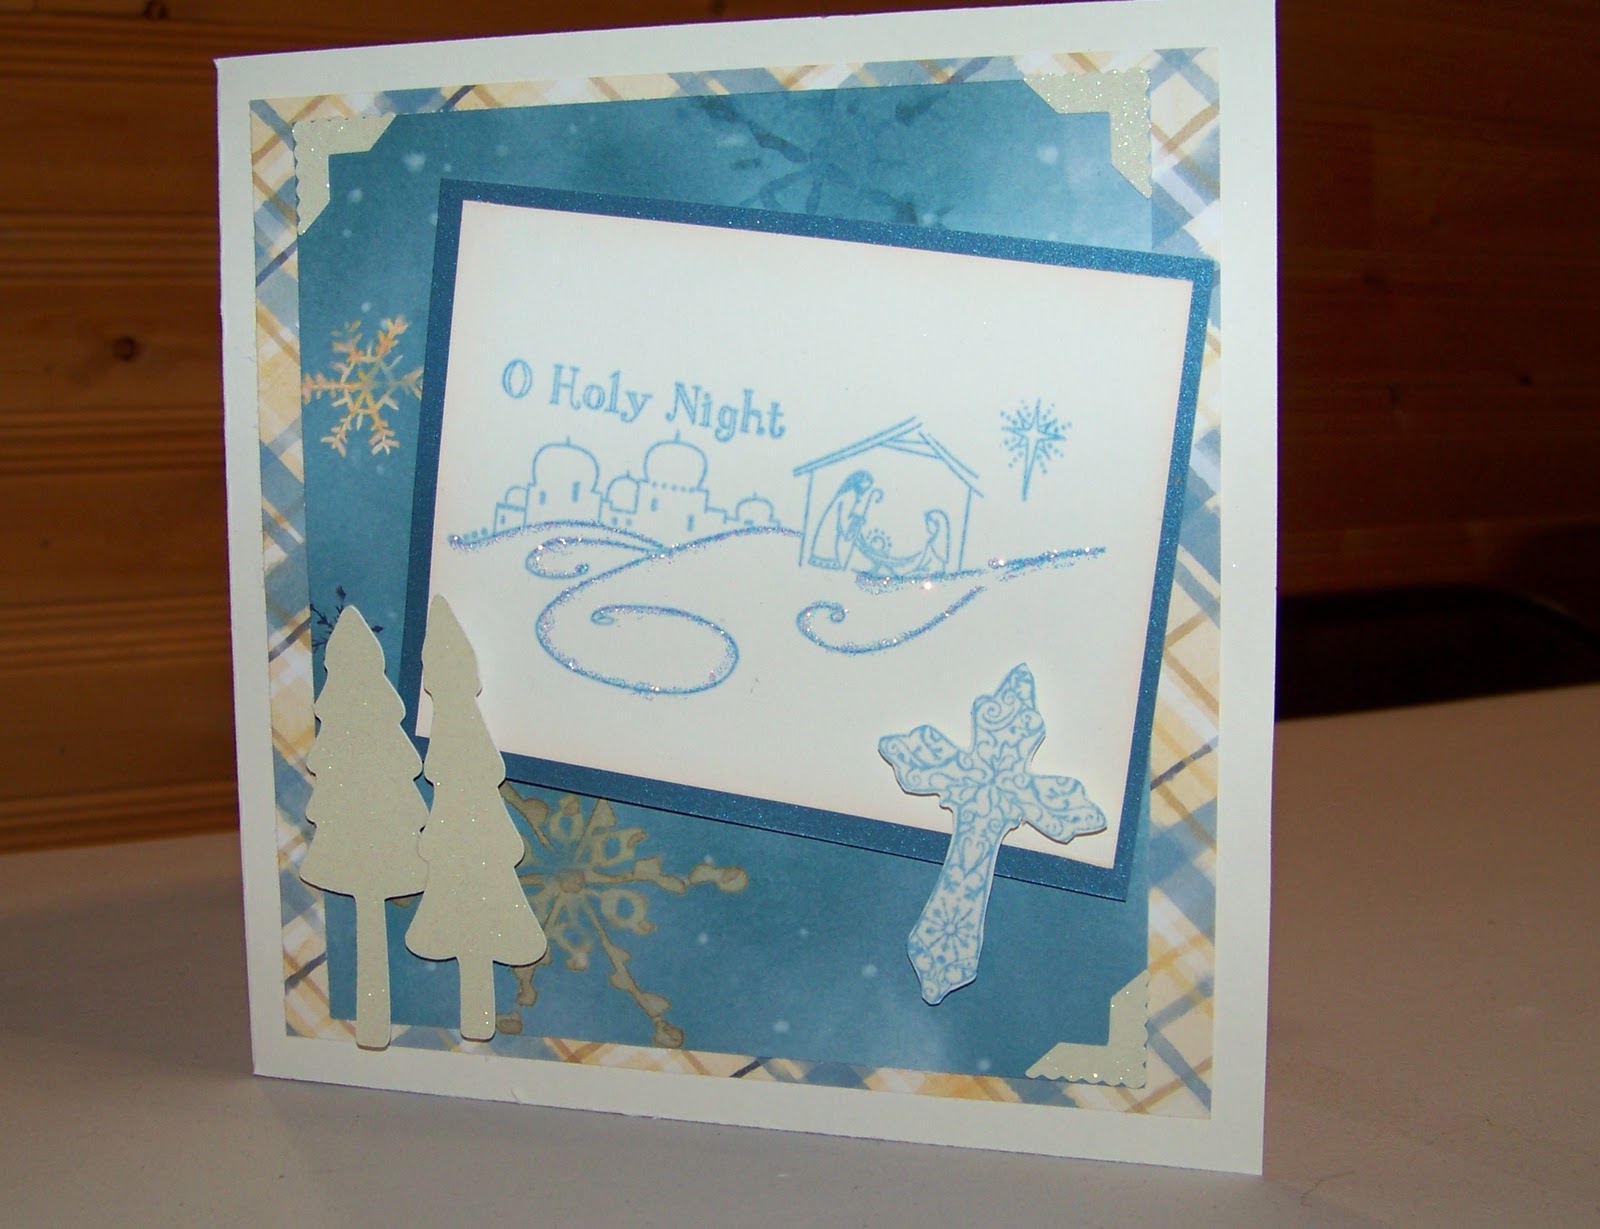
christmas cards from weekend scrap retreat
Hi guys,
I am back from a scrap retreat that I helped put on at my
sister-in-law Barb's.She has opened her own store in
Blackville,N.B.
I taught classes for the first time...
Thanks to my blog friends tutorials ,,,
I'll list the links soon to the classes I did...
I didnt scrap much myself ...with helping
others at the retreat.... but did get 2 cards done
here they are.....
Posted by Unknown at 5:58 PM 2 comments
Labels: christmas cards, cricut, distress ink, gems, glitter paper, patterned paper, stamp, stickles, Winter Woodland
Sunday, October 17, 2010
Night owl layout
I am kinda in a design slump....
Here is a basic layout...about me..
the night owl..permanent night Nurse....
Posted by Unknown at 5:30 PM 2 comments
Labels: Night owl
Why I love WDW
Animal Kingdom
4th of July
Magic kingdom
Cinderella's Castle
Magic kingdom
Epcot
France (my hubby)
Hollywood studios(MGM)
Rockin Rollercoaster
Hollywood Studios(MGM)
backstage tour
Chef Mickey's
My three favorite boys
Meeting PLUTO
a kid again :)
A Royal Kiss
Sleeping Beauty's "Gift" to my son Chris
My fur baby
Neo
(I am published in/may+july 2010) In A scrap ezine
making cards mag-UK
I am published in dec 2009
My visitors
see you again real soon